Part 4 of the First-Time Cooking Starter Pack
Steak, one of the most well-known dishes in the world. It is used in many different dishes across multiple types of cuisine. The most popular is the classic seared steak where you get a chunk of meat that you get to enjoy cutting yourself on a plate. Even though searing a steak is simply cooking it on each side, the technique required for the meat to end up at the right temperature while maintaining the right exterior is an art-form in itself.
Let’s start with understanding the temperature of the meat and why it’s so controversial amongst steak-lovers. Die-hard fans of steak would say that you should only eat a steak that is rare or medium rare at most. Others would say that medium is the best because it ensures that you won’t get sick from the consuming it. Is one more right than the other? It really depends on the quality of the beef. You’ll find many dishes where the steak is cooked to a well-done, but that’s usually in countries where obtaining higher quality beef used to be rare. Nowadays, good quality beef is much easier to come by, but the old recipes of well-done beef still exist and they’re still delicious. Personally, I prefer my steak medium-rare but I’m not going to force anyone to eat a pink centered steak if they’re uncomfortable with it.
Cooking Temperatures for Steak
Before you cook a steak, it’s important to understand what the internal temperatures ranges are for each level of cook. These levels are rare, medium rare, medium, medium well, well done, and extra well (aka rubber). The temperature ranges start at 120°F and go up to 170°F.
| Cook Level | Temperature Range |
|---|---|
| Rare | 120°F - 125°F |
| Medium-Rare | 130°F - 135°F |
| Medium | 140°F - 145°F |
| Medium-Well | 150°F - 155°F |
| Well-done | 160°F - 165°F |
| Extra Well | 170°F+ |
To measure the temperature, I highly recommend getting an Instant Digital Thermometer. It’s easy to use and will help make sure you nail the cook temp every time. To use it, just stick the pointy end into the meat through the thickest part. By thickest part, we mean in a way where the pointy end has to travel the longest to reach the center.
For steaks, it’ll always be through the side. Use your tongs to stand the steak on its side and then put the thermometer into it. Make sure to get the tip as close to the center as possible since that’ll be the place that takes the longest to heat up and you want to make sure the center is at the right temperature when you take the steak out of the pan.
Understanding the Searing Process
When you sear a steak, you know it’s a good sear when you see a brown crust on it. It’s not a bad thing if you get some char on it, but you don’t want too much charring or else you’ll get a overpowering burnt taste. The difference in taste between a sear and a char is that searing gives you a deeper umami flavor while charring gives you a bitter taste.
The reason that searing gives off an umami flavor is due to a chemical reaction called the Maillard reaction. It can only happen if the amino acids of the steak quickly reaches a temperature of 280°F-330°F (don’t worry, this isn’t the internal temperature). In order to achieve this effect, you need both of the following scenarios:
- A steak with a dried surface (it can be slightly moist, but not wet or shiny in appearance)
- A really hot pan. The pan needs to be significantly hotter than the steak for the maillard reaction to occur.
One thing to point out is that you can still get the browning effect when the steak is wet or the pan isn’t super hot. However, it requires you to cook the steak for longer which will mean that you may hit your desired internal temperature before the browning develops on the outside of the steak. I’m sure there are some folks who might like a gray looking steak, but I’m certainly not one of them.
Once you figure out how to get a good sear on a steak, you’ll be able to get a good sear on just about anything else. Chicken breast, pork chops, salmon, scallops, etc.. Some of these may require a bit more finesse than a steak, but the overall concept of high-heat and low-moisture won’t change.
Foolproof Methods for Cooking a Great Steak
Steaks will come in different thicknesses which will change the overall cook time, but the general techniques for making a great steak goes unchanged. There are two methods you’ll want to know how to execute, each method contains the same techniques but in different orders. Which method you use depends on the thickness of your steak.
The Searing Method
This is the standard method and it works really well with steaks that are around 1 inch thick or less. Any thicker and you’ll want to use the reverse-sear method to improve your chances at hitting the right internal temperature and having a more even cook.
Turn Up the Heat
To start off, place a pan on the stove and start heating it up. At the same time, pre-heat your oven to 450°F-500°F; you’ll use the oven right after the searing process to finish the cooking process. If you’re using a grill, then light it and close the lid so that the temperature can rise up.
While your cooking apparatuses are heating up, place your steak down onto a plate or a board and remove an excess moisture by blotting it with a paper towl. Once the surface looks dry enough, season your steak. The thicker the steak, the more seasoning you’ll want to use on it. The simplest spice mixture would be salt and black pepper. You can also add in some garlic powder, onion powder, or dried thyme leaves if you want. Simplier is better though.
Hear The Sizzle
Remember, to get the maillard reaction you need to have a really hot pan. A quick way to test how hot the pan is to place a droplet of water onto its surface. If it sizzles and slowly evaporates away, then it’s not hot enough. However, if you see that it sizzles and jumps around a bit in the pan, then it’s ready.
Real quick, the event where a droplet of water can appear to “jump around” in a really hot pan is called the Leidenfrost effect. This only happens when a liquid comes into contact with an extremely hot metal where it immediately turns into vapor. As the liquid gets vaporized, the gases being released form a sort of “force-field” around the bottom of the liquid which creates the apperance of the liquid dancing on the metal’s surface.
Now that the pan is at the right temperature, add a tiny bit of fat or oil into the pan. I suggest using beef tallow or avocado oil. Olive oil doesn’t do well at high temperatures and vegetable oil can be carcinogenic at such high temperatures. Once your fat is in the pan, spread it around and then prepare to add your steak!
Drop It Like It’s Hot, Because It Is…
When you put the steak into the hot pan, remember to lay it down away from yourself. Once the meat touches the surface of the greased/oiled pan, it’ll start to sizzle and pop. Laying it away from you reduces the risk of it splattering on you (it’s sort of like a shield in a way). Once the steak is laid flat, lightly press down on it’s center to ensure that it has made full contact with the pan. Don’t worry if it feels like it is sticking to the pan, the steak will release its hold on the pan on its own once the maillard reaction takes place.
The key thing to getting a good sear is to leave the steak alone after you’ve put it into the pan. Let it cook, undisturbed, for at least 1 full minute. Longer if you have a thicker steak. If you lost track of time, you can test it by trying to lift the steak off the pan. If it’s stuck, then it’s not ready. If it lifts, just give the bottom a quick look to see if it has browned nicely. Don’t do this too often though. Every time you take the steak off the pan, the temperature drops. If the temperature drops, you’ll risk not getting the browning you want.
When you flip the steak, you’ll want to lay it into the pan away from yourself again. The same sizzling effect will occur when this happens. After flipping, the steps are the same. Leave the steak alone and let it cook. After about 1 minute, check to see if it lifts and then check the browning. It’s literally the same process as what you did with the first side of the steak.
Finishing in the Oven
The final step is popping the steak into a blazing hot oven to ensure the final internal temperature of the steak is reached and uniform throughout the steak. This isn’t a mandatory step every time, but it is a crucial one for achieving a more even cook. To determine if you should use the oven, place the steak on it’s side (I like to keep the steak in the hot pan while I do this so that the sides also get a nice sear) and put the thermometer in. If the center is at the temperature you want, you can skip this step. If it’s at least 5°F lower, then proceed with using the oven to finish it off.
If you’re using an oven safe pan, you can pop the entire thing into the oven, steak, pan, and all. If not, move the steak into something that you can put into the oven. Since the oven is heated to 450°F-500°F, the amount of time the steak sits in the oven is going to be rather short. With a 450°F oven, a typical 1 inch steak will rise about 10°F-15°F per minute. So if you took the steak off the stove with an internal temperature of 120°F and wanted a medium-rare cook, you’ll want to leave it in the 450°F oven for a maximum of 1 minute.
The Final Step
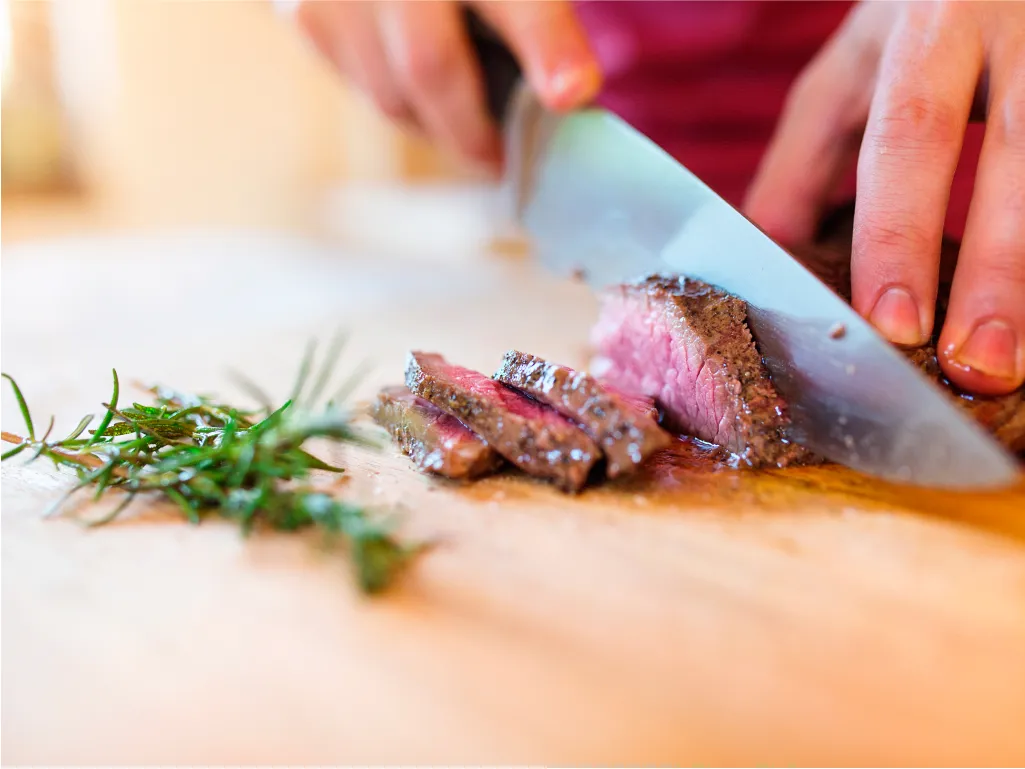
The final step of this process is letting the steak rest for at least 5 minutes. Resting the steak allows the meat to relax, reabsorb some of the moisture, and redistribute it. When you rest a steak, you’ll notice that it’s juicier and more tender than if you were to cut into it right away.
To rest a steak, remove it from the heat and place it on anything that isn’t hot. The key here is to stop the cooking process and let the steak’s exterior temperature to come back down. At this point, the steak is going to look amazing, so you might have a hard time resisting it. Take your mind off of the steak by washing the pan or something. Once the 5 minutes are up, you can go ahead and enjoy what you’ve created.
The Reverse-Searing Method
The reverse-sear is a method typically reserved for steaks that are about 1.5 inches or thicker. Just as it sounds, it’s the searing method but in reverse order. This method works better with thicker steaks because it helps ensure that you reach the internal temperature that you want throughout the steak. If you used the typical searing method on a thicker steak, you’d get an uneven cook where the edges of the steak are more cooked than the center.
The biggest difference between the searing and the reverse-searing methods is the overall cook time. Reverse-searing takes longer than regular ol’ searing because you’re slowly raising the internal temperature of the steak to achieve a more uniform cook throughout the entire piece of meat. This is achieved through a lower temperature with a longer cook time. A another big benefit of this method is how tender the steak comes out, which is something really hard to do with the regular searing method.
Oven First, Sear Later
As mentioned just before, the reverse-searing method does the searing method’s cooking steps in reverse order. Instead of searing the steak first, you’re going to put it in the oven first. To start off, pre-heat your oven to anywhere between 250°F-350°F. A lower temperature means longer cook time, but also a more tender steak. Set it to whatever you prefer.
While the oven pre-heats, season your steak. Since you’re starting in the oven at a lower temperature, you can apply more seasoning to the steak without fear of burning it off. When I do a reverse-sear, I like to use a combination of salt, black pepper, cumin, garlic powder, onion powder, ginger, dried thyme leaves, and paprika. Coat the entire steak in this - front, back, sides, all of it.
Once your steak is seasoned, it’s time to stick a thermometer probe into it. This probe will help you monitor the internal temperature of the steak while it is in the oven. ThermoPro has a digital thermomter that acts as both an instant read as well as a monitoring probe, it’s pretty affordable and you can find it on Amazon under the ThermoPro TP710 model number. If you want a dedicated monitoring probe for ovens, BBQs and smokers, I would suggest the the ThermoPro TP829. When placing the probe into your steak, make sure to come at it from the side of the steak and push it in far enough so that the tip of the probe is around the steak’s center. Once it’s in, use the ThermoPro’s display to set your desired temperature. I recommend setting it about 10°F-20°F lower than your final target temperature because it’ll rise in temperature again when you sear it.
Once the oven is pre-heated, steak is seasoned, and the probe is in, put the steak into the oven and let it do it’s thing. It’ll take some time for the internal temperature of the steak to reach the desired internal temperature, so feel free to go and do other things in the meantime. The ThermoPro thermometers usually beep when the desired temperature is reached.
It’s Searing Time
Once the desired temperature is reached, take the steak out of the oven and let it rest somewhere. This resting process is important because it lets the meat redistribute the juices a bit before you sear it at a high heat to get the browning on the outside.
While the steak is resting outside of the oven, pre-heat your pan on the stovetop until a droplet of water can dance on its surface. If you’re using a grill, pre-heat the grill until it reaches 500°F. By the time it reaches the right temperature, your steak should be rested enough to start the searing process. Similar to the regular searing method, you only want to sear each side of the steak for about 1 minute each. If you still have the probes in the steak, you can leave them in and monitor the internal temperature as you sear to ensure that you don’t go over your desired final internal temperature.
This method can be a bit less forgiving as the regular searing method since you’re only going to have about 10°F-15°F to work with and getting the right sear requires the temperature you’re cooking at to be extremely high. When you place the steak onto the hot pan or grill, it should almost look like it’s going to burst into flames from all of the smoke it produces. If you’ve ever seen how it looks to brand a piece of meat, that’s basically what it should be like.
After about a minute on each side, your desired temperature should be reached and there should be a nice brown crust on each side. If there’s not, then your temperature wasn’t high enough. If that’s the case, you’ll need to decide if you care more about the crust or more about the cook temp. I personally care more about the cook temp than the sear, but it’s up to you.
Resting One Last Time
After you’ve finished searing the steak, you have to rest it for at least 5 minutes so that the meat can relax. I know you already did it after the oven, but it’s even more important after the sear because the muscle fibers in the meat tense up much more with higher heat. Let it rest and reabsorb the moisture so that you end up with a much juicier bite when you finally get to eat it.
Improving Your Steak-Game
Using either of these methods will get you a great steak every time, but you can always improve its flavor with a few simple tricks:
- Season the steak and let it sit in its seasoning for an hour before starting to cook. This will allow the seasoning to penetrate the steak more deeply, giving you a more flavorful bite each time.
- Place the steak into a ziplock bag overnight with diced onions to help tenderize the meat. You can even use the onions later to create a demi-glaze dipping sauce if you want.
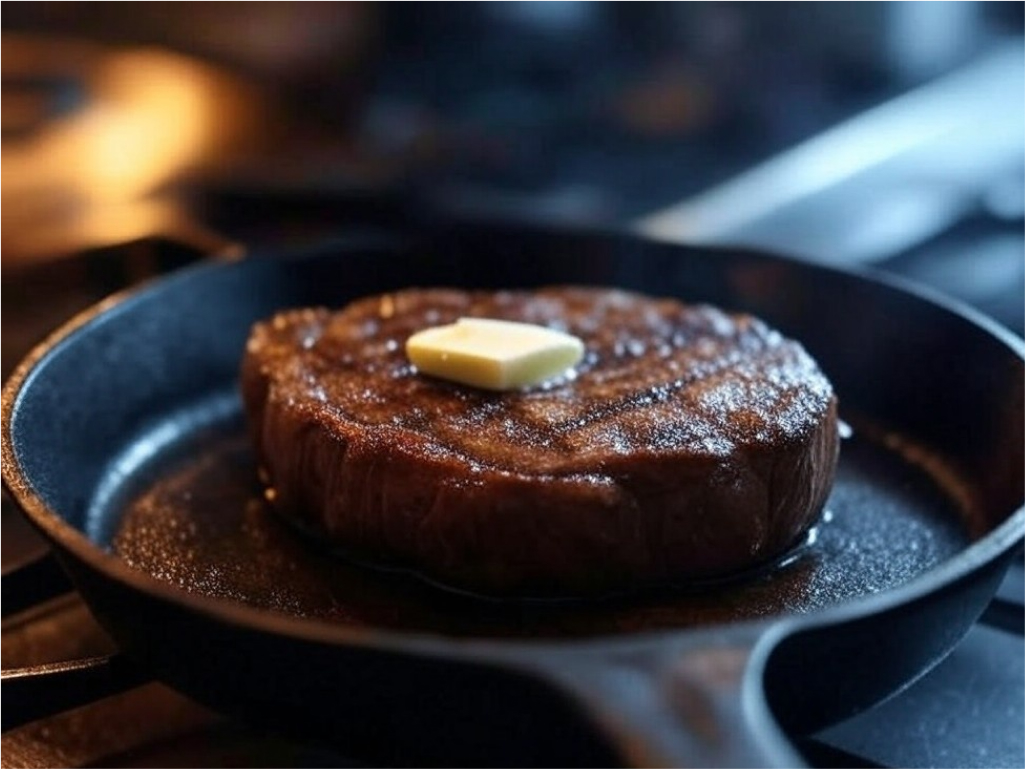
- When searing the steak, bast it with butter. If you’re using a pan, just drop in a dollop of butter and spoon it over the steak after you flip it the first time. This will help prevent the top of the steak from drying out as you sear the other side. You can even add some garlic cloves and thyme to infuse those flavors into the butter as you bast.
- If you’re using a grill, use a bowl and a brush.
- Serve the steak with some finishing salt or a compound butter.
Next up 👉 Cooking Eggs For Beginners
You Might Also Like

Never Undercook Meat Again with This Tool

What Your Stance on Leftovers Says About You
